
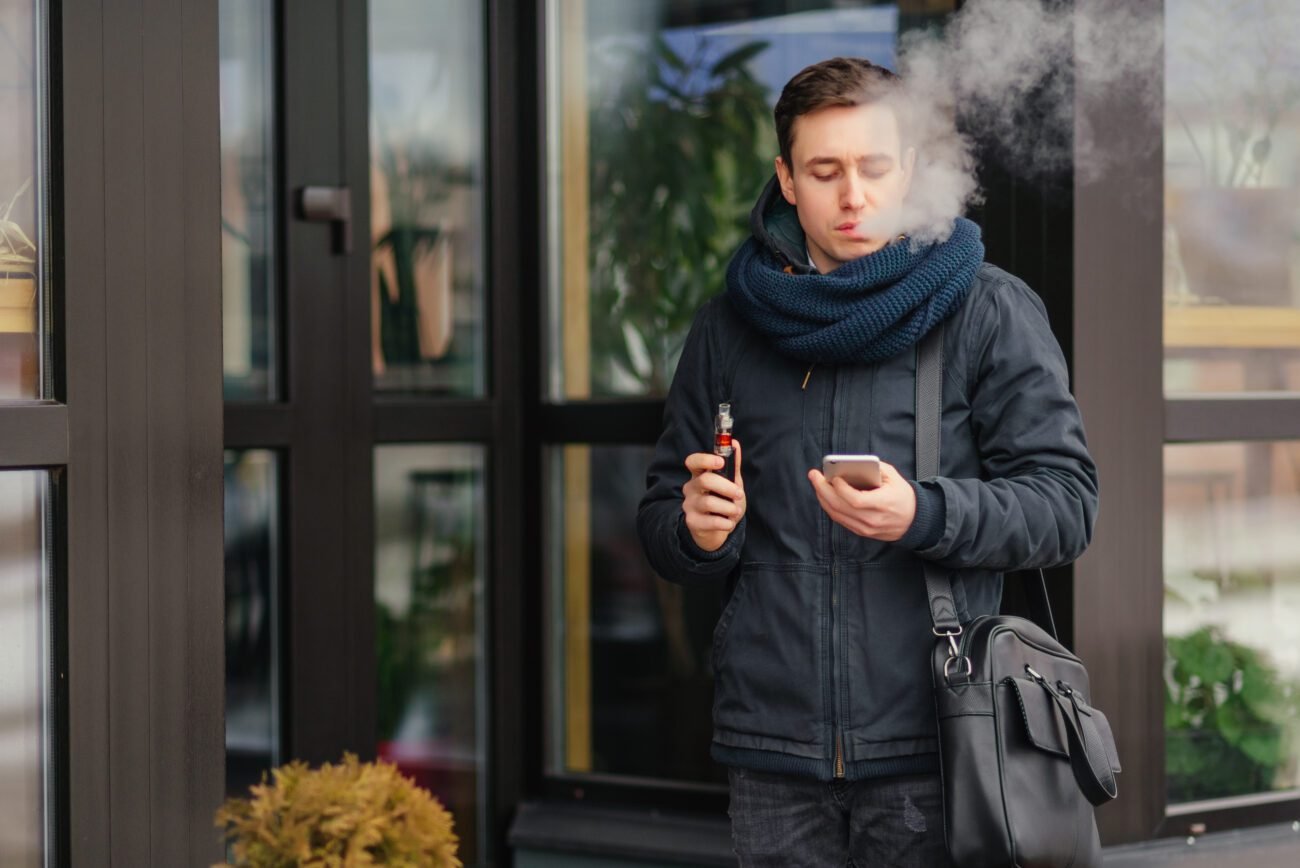
You can clean a vape tank without damaging the coil by removing the coil before washing the tank. Keep the coil, battery, charging port, and electronics dry, and rinse only the washable tank parts.
How Do You Clean a Vape Tank Without Damaging the Coil?
How to Remove the Coil Before Cleaning
To clean a vape tank without damaging the coil, switch off the device and detach the tank first. Empty all remaining e-liquid into a suitable container. Unscrew the tank base and remove the coil before water touches the tank. Place the coil on a clean, dry surface. Keep the battery away from the sink throughout the process.
How to Rinse the Tank Safely
To rinse the tank safely, separate the glass, top cap, base, drip tip, and seals when your manufacturer allows removal. Rinse washable parts under warm running water for about 30 seconds. Avoid boiling water because high heat can affect seals and plastic components. Wipe stubborn residue with a clean cotton swab. Rinse away any soap residue if you use a tiny amount of washing-up liquid.
How to Dry the Tank Before Reassembly
To dry the tank before reassembly, shake off excess water and blot each part with a clean paper towel. Leave the tank parts exposed to air until every surface feels completely dry. A full overnight drying period gives trapped moisture time to evaporate. Never fire a device with water inside the airflow path.
Why Should You Keep the Vape Coil Dry?
A vape coil contains a heating element and an absorbent wick. Water can soak the wick and dilute the e-liquid that normally saturates the coil. A wet coil can also produce weak flavour, gurgling, or spitback after reassembly. Modern pod systems often combine the coil and pod, so the whole pod requires a different cleaning method.
How to Clean a Separate-Coil Tank
To clean a separate-coil tank, remove the coil before rinsing the tank shell. Wash the glass, metal base, mouthpiece, and removable seals when the device manual permits washing. Keep the coil outside the water. Replace a coil that already tastes burnt instead of trying to restore the coil through repeated washing.
How to Clean a Built-In-Coil Pod
To clean a built-in-coil pod, avoid rinsing the pod unless the manufacturer specifically permits washing. Wipe the mouthpiece and outer pod with a dry tissue. Clean the pod contacts with a dry cotton bud. Replace the pod when the built-in coil becomes burnt, heavily gunked, or weak.
How Often Should You Clean a Vape Tank?
Clean a vape tank when you change strong flavours, notice visible residue, or replace a coil. Regular users can perform a quick wipe daily and a tank wash weekly. A deeper wash works well during each coil change. Sweet e-liquids, including dessert blends and candy flavours, can leave more residue on coils.
How to Clean After Changing Flavours
To clean after changing flavours, empty the tank and remove the coil before washing. Rinse the tank parts with warm water and let every part dry completely. Fit a new coil when the previous flavour remains in the wick. Strong profiles such as coffee, tobacco, menthol, and cinnamon can cause noticeable flavour carryover.
How to Clean a Tank With Stubborn Residue
To clean a tank with stubborn residue, rinse the removable glass and metal parts first. Use a small amount of washing-up liquid only when warm water leaves residue behind. Rinse every part thoroughly and air-dry the parts completely. Avoid household bleach, abrasive cleaners, and fragranced products.
What Should You Never Use to Clean a Vape Tank?
Never immerse a battery, screen, charging port, or powered device in water. Never scrub glass with abrasive pads because scratches can weaken the glass. Never reinstall a damp coil because moisture can cause gurgling and poor vapour production. Never use metal tools inside the charging port because metal can damage contacts or create an electrical short.
How to Clean Vape Contacts Without Water
To clean vape contacts without water, power off the device and remove the tank or pod. Use a dry cotton swab to lift e-liquid residue from the contact points. Use a dry wooden toothpick for loose debris around the charging port only when the device manual permits it. Keep all liquid away from electrical components.
How Does Coil Condition Affect Tank Cleaning?
A clean tank cannot restore a worn coil. Replace the coil when you notice persistent burnt flavour, muted flavour, dark residue, or poor vapour production. Vape Lounge Online recommends checking coil condition regularly and replacing worn coils rather than relying on washing. See the read our coil guide for coil-life guidance.
How to Prime a Replacement Coil
To prime a replacement coil, apply a few drops of compatible e-liquid to exposed cotton when the coil design allows direct priming. Install the coil, fill the tank, and wait 5 to 10 minutes before vaping. Start at the lower end of the coil’s stated wattage range. See the see coil replacement guide for more coil replacement guidance.
Which E-Liquid Creates More Tank Residue?
Sweet and heavily flavoured e-liquids can leave more residue on a coil than lighter formulations. High-VG liquids also suit specific sub-ohm tanks rather than every pod system. Match the e-liquid ratio to the coil and device specification. Read the explore sub-ohm tanks before using a sub-ohm tank with high-VG e-liquid.
Quick Reference: Vape Tank Cleaning Tasks
| Task | Timing | Method | Difficulty |
| Wipe mouthpiece | Daily | Dry tissue or cotton swab | Easy |
| Clean contacts | Weekly | Dry cotton swab | Easy |
| Wash removable tank | Weekly | Warm water, then air-dry | Moderate |
| Change flavour | When needed | Wash tank and dry fully | Moderate |
| Replace worn coil | Every 1–2 weeks | Remove old coil and prime new coil | Easy |
| Deep-clean residue | Monthly | Warm water and minimal washing-up liquid | Moderate |
How Can You Tell the Coil Needs Replacing?
A coil needs replacement when the burnt taste remains after a full refill, the flavour stays muted, or dark residue covers the wick. Gurgling can also indicate excess liquid, but persistent gurgling after a correct refill and dry tank points toward coil or airflow problems. Vape Lounge Online lists burnt flavour, weak flavour, and gurgling among common replacement signals.
How to Avoid Damaging a Fresh Coil
To avoid damaging a fresh coil, keep the tank filled above the coil’s minimum wicking level. Prime the coil before the first puff and respect the printed wattage range. Avoid repeated high-power firing while the wick lacks sufficient e-liquid. These habits reduce dry hits and premature coil wear.
FAQs About Cleaning a Vape Tank Without Damaging the Coil
Can I wash my vape coil with water?
No. Most replaceable coils work better as consumable parts, and built-in pod coils should not be washed. Replace a worn or burnt coil instead.
Can I clean a vape tank while the coil stays installed?
No. Remove a separate coil before washing the tank. Water can soak the wick and cause poor performance.
How long should a vape tank dry after washing?
Leave the tank until every part is completely dry, ideally overnight. Drying time depends on airflow, room humidity, and trapped moisture.
Can I use washing-up liquid on a vape tank?
Yes, but use only a small amount on removable tank parts. Rinse every part thoroughly and dry everything before reassembly.
Should I replace the coil after cleaning the tank?
Yes, if the coil already tastes burnt or carries a strong old flavour. A clean tank cannot remove residue trapped inside old coil cotton.
Conclusion: Clean Your Tank Without Damaging the Coil
Clean a vape tank without damaging the coil by separating the coil before washing, rinsing only washable components, and drying every part fully. Replace worn coils instead of repeatedly washing them. For compatible replacement coils and maintenance supplies, visit the read our coil guide.
