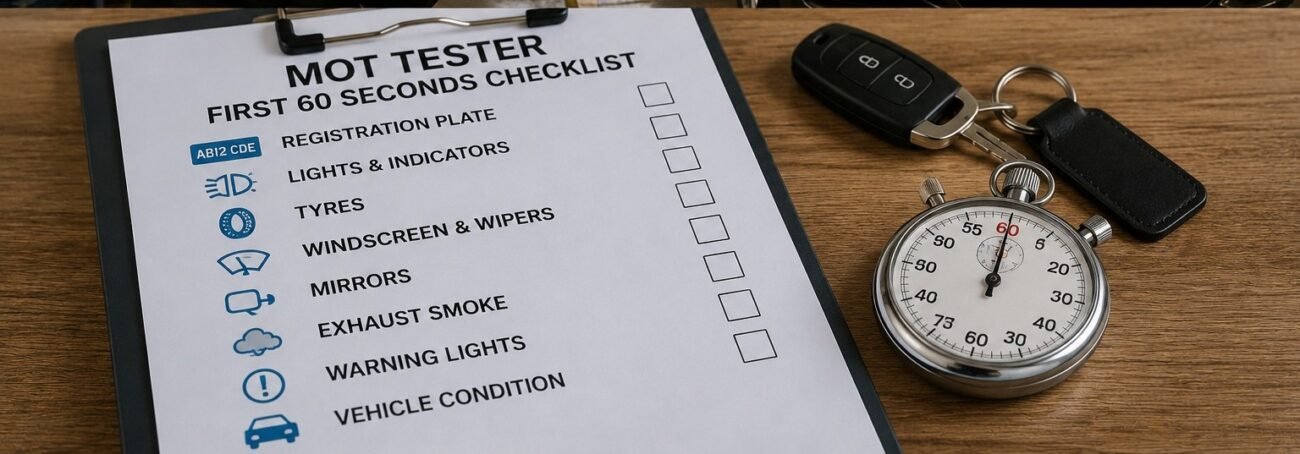
MOT testers form early impressions before the ramp. Find out exactly what they spot in the first 60 seconds and how to prepare in Aldershot.
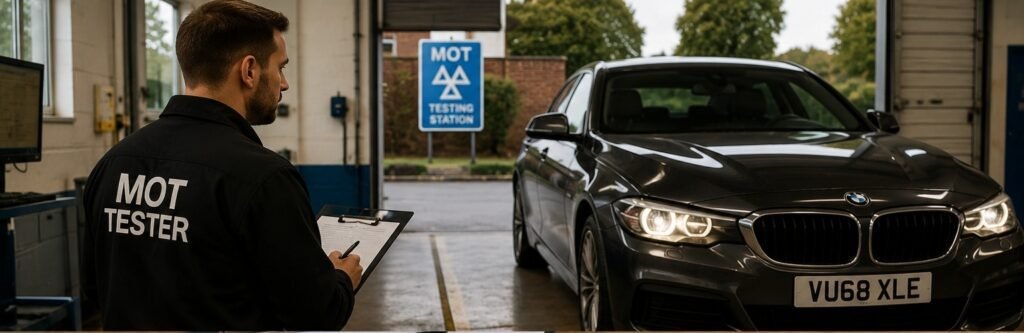
There is a moment between handing over your keys and the tester climbing into your car that many drivers do not think about. The test has already begun. Before a single wheel rolls onto the ramp, before brake efficiency is measured or emissions are analysed, a trained MOT tester is already gathering information. The first 60 seconds of any MOT are a period of active observation, and what is seen during that window shapes the direction of the test that follows.
This matters more than most drivers realise. Around 30 million vehicles are tested each year in the UK, and roughly one in three fails. A significant proportion of those failures involve faults that were visible before the detailed inspection even started. Understanding what a tester notices immediately, and making sure your car is prepared for that first look, is one of the most practical things you can do ahead of your test. If your MOT is coming up soon, the guide on how to avoid an unexpected MOT failure is worth reading before you book.
Why the First Impression Matters
MOT testers are experienced professionals who work through dozens of vehicles each week. That level of repetition builds a kind of pattern recognition that operates quickly and accurately. When a car pulls into the test bay, the tester is not standing passively waiting to begin. They are already observing the way the car moves, what the exterior looks like, what the number plates reveal, and what condition the glass and lighting appear to be in.
This is not about judgment. It is about efficiency. A tester who spots a non-compliant number plate or a cracked lens before sitting in the car can note it immediately and move through the inspection with that context already established. The point is that the test does not have a neutral warm-up period. From the moment your vehicle arrives, it is under observation.
What Gets Noticed Before the Tester Sits Down
The Number Plate
This is one of the very first things a tester confirms. Under UK law, number plates must be present on both the front and rear of the vehicle, securely fitted, legible, and free from damage, dirt, or fading. The font must conform to the approved design, with correct spacing between characters. Plates must be readable from 20 metres away.
A plate that is cracked, yellowed, obscured by dirt, or has incorrect letter spacing is a failure point. The registration plate light on the rear of the vehicle is also checked, and a blown bulb here is one of the most straightforward but easily missed reasons a car fails. Many drivers clean their car thoroughly before an MOT without thinking to check whether the small bulb illuminating the rear plate is still working.
The Overall Condition and Cleanliness of the Car
A tester can refuse to carry out an MOT on a vehicle that is excessively dirty, particularly if dirt obscures components that need to be inspected, such as the underside, lighting units, or number plates. This is rarely a problem for a car in everyday use, but it is worth noting that arriving with a car caked in mud, with windows covered in grime, or with a boot full of clutter that obstructs access, is not a neutral start.
A clean car does not guarantee a pass. But it removes one potential obstacle immediately, and it signals to the tester that the vehicle has been maintained with some attention to detail.
Visible Body Damage and Structural Condition
As the tester walks around the exterior, the bodywork is being assessed. The MOT checks for corrosion or damage that could affect the structural integrity of the vehicle, create sharp edges that pose a risk, or compromise the mounting points for safety systems like seat belts and suspension components. A small patch of surface rust on a door sill is not the same as corrosion in a structural area near a suspension mounting point. The tester is looking for the latter.
Loose panels, doors that do not close properly, bonnets that do not secure correctly, and visible sharp metal edges are all noted during this walk-around phase. These are not cosmetic concerns. They are structural and safety assessments.
Tyre Condition
Even from a standing position before the detailed inspection begins, tyre condition is already being assessed. Sidewall damage, visible bulges, and tyres that are obviously low on pressure or mismatched are noticeable immediately. The legal minimum tread depth in the UK is 1.6mm across the central three-quarters of the tyre, and while this is measured precisely during the inspection, a tyre that is visibly worn smooth is flagged at first glance.
Tyre condition accounted for nearly 13 percent of all MOT faults in a recent quarter according to data from the DVSA. This is a consistently high-ranking failure category, and many of these faults would be apparent to a tester on approach.
The First 60 Seconds Inside the Car
Once the tester takes the driver’s seat, the inspection enters its next immediate phase. Several things happen within moments of the door closing.
Dashboard Warning Lights
The tester will start the engine and observe which warning lights appear and, critically, which ones remain illuminated after the engine has started. This is one of the most decisive early moments in any MOT.
Under current testing standards, an illuminated ABS warning light, airbag warning light, or engine management light results in an automatic failure. These lights are designed to extinguish during the start-up sequence as the car confirms system function. When they stay on, they indicate a logged fault in a safety-critical system.
An illuminated ABS light tells the tester that the anti-lock braking system is not functioning correctly. Without ABS, the vehicle loses a critical element of emergency braking control, particularly on wet roads. An airbag warning light indicates a fault in the supplementary restraint system, meaning the airbag may not deploy as intended in a collision. An engine management light that remains on signals a fault that may relate to emissions, fuel delivery, or a sensor failure, each of which carries implications for both roadworthiness and environmental compliance.
These are not faults that can be noted and revisited later in the test. They are logged immediately, and the test continues but the outcome for those items is already recorded. Drivers who arrive with a known warning light on a dashboard are walking into a failure that could have been addressed beforehand.
Seat Adjustment and Security
The driver’s seat must be securely fixed to the floor and able to adjust correctly. This is checked within moments of sitting down. A seat that moves unexpectedly, wobbles at its base, or cannot be positioned properly is noted. While this is less commonly a failure point than lights or tyres, it is assessed immediately and consistently.
Mirrors
The interior rear-view mirror and both door mirrors are checked for security, condition, and coverage. A mirror that is cracked, loose, missing, or poorly angled is noted during this early phase. Door mirrors must be secure and provide adequate coverage for safe driving. Given that the entire process from sitting down to checking mirrors takes only a matter of seconds, any obvious problem here is recorded almost immediately.
Horn
A quick test of the horn is carried out early in the seated check. The horn must sound clearly and continuously in a single note, and must be audible enough to warn other road users. A horn that does not work at all is a failure, as is one that produces an intermittent or weak sound. Many drivers never test their horn between one MOT and the next.
The Lighting Check: Fast, Thorough, and Unforgiving
Once the early seated checks are complete, the lighting inspection begins. This is one of the most comprehensive early assessments and one of the most common sources of failures. According to DVSA data, lamps, reflectors, and electrical equipment accounted for over 25 percent of all recorded MOT faults in a recent quarterly period. That figure makes lighting the single largest category of failure across all vehicles tested.
The tester checks every external light on the vehicle:
- Headlights, including both dipped and main beam
- Front and rear indicators, with correct amber colour and flash rate
- Brake lights, front and rear
- Sidelights and rear tail lights
- Front and rear fog lights, where fitted
- Reverse light
- Hazard warning lights, which must operate with the ignition both on and off
- Number plate illumination light
Each of these must work correctly, be properly aimed where relevant, and produce the correct colour of light. A single blown bulb in any of these positions is a failure. On modern vehicles with LED or adaptive lighting systems, a fault can be more complex than a simple bulb replacement, which is why these issues are worth checking and resolving before arriving for the test rather than discovering them on the day.
Headlamp aim is also assessed. A headlight that dips incorrectly, pointing too high and blinding oncoming drivers, or too low and reducing the driver’s forward visibility, will fail on aim even if the bulb itself is working perfectly.
What the Tester Observes on the Way to the Ramp

The short drive from the reception area into the test bay provides additional information that feeds into the overall inspection. A tester will notice how the brakes feel under light application, whether the steering feels direct or shows signs of play, and whether there are any unusual sounds from the suspension or exhaust during that brief journey.
An exhaust that is visibly noisy, blowing, or rattling at low speed is already noted before the emissions test begins. A car that pulls to one side under gentle braking signals a possible brake imbalance that will be confirmed on the brake rollers. Suspension that produces a knock over the small imperfections of a forecourt surface is flagged before the ramp inspection confirms the specific component.
This pre-ramp observation period is not formal or structured in the way that the documented test is. But experienced testers use it consistently, and the information it provides shapes how carefully they approach certain systems during the inspection that follows.
How to Prepare for Those First 60 Seconds
The good news is that almost everything a tester notices in the opening minute of an MOT is something a driver can check and address in advance. None of it requires specialist knowledge or equipment. It requires attention and time.
Here is a straightforward pre-MOT check focused specifically on what is assessed earliest:
- Check both number plates are present, secure, clean, and undamaged. Confirm the rear plate light is working.
- Walk around the car and inspect all exterior lights. Use a wall or ask someone to help confirm brake lights and indicators are functioning.
- Check headlight lenses for cracks, cloudiness, or obvious misalignment.
- Start the engine and watch the dashboard. Note any warning light that does not extinguish after start-up and have it diagnosed before the test.
- Test the horn to confirm it produces a clear, consistent sound.
- Check both door mirrors are secure and undamaged.
- Inspect tyres for obvious damage, sidewall bulging, or visually low tread.
- Ensure the car is reasonably clean, with number plates legible and windows clear.
For a more comprehensive picture of everything assessed during the full test, the detailed breakdown of what is checked during an MOT covers each system in full.
The Difference Between a Prepared Car and an Unprepared One
| What the Tester Sees in 60 Seconds | Prepared Car | Unprepared Car |
| Number plates | Clean, secure, correctly formatted | Dirty, faded, or cracked |
| Exterior lights | All working, correct colour and aim | Bulbs blown or lenses cracked |
| Dashboard warning lights | All extinguish on start-up | ABS, airbag, or engine management still lit |
| Tyre condition | Even wear, no visible damage | Obvious sidewall damage or low tread |
| Bodywork and mirrors | Secure, no sharp edges or loose panels | Loose mirror, corroded sill, unsecured panel |
| Horn | Clear and consistent sound | Non-functional or intermittent |
The difference between these two columns is rarely a matter of major mechanical work. It is almost always a matter of attention. A prepared car arrives with the visible, immediately assessable items already in order. The tester then moves through the more complex inspection of brakes, suspension, steering, and emissions with no immediate failures already on the record.
Why Booking a Pre-MOT Service Makes Sense
A pre-MOT service does not just check the items visible in the first 60 seconds. It covers the full range of components assessed during the test, including brake performance, suspension condition, steering play, and emissions. But it starts with exactly the same walk-around observations a tester will make, which means any obvious early-stage issues are identified and resolved before the official test takes place.
For drivers in Aldershot, Farnborough, Fleet, Ash Vale, and the surrounding areas of Hampshire, booking regular car servicing in Aldershot is the most reliable way to keep the car in a condition where the first 60 seconds of any MOT hold no surprises.
Conclusion
The first 60 seconds of an MOT are not a formality. They are a period of active, experienced observation during which a trained tester identifies visible faults, assesses overall vehicle condition, and confirms that fundamental safety items are present and functional. Number plates, lighting, dashboard warning lights, tyre condition, bodywork, and the horn are all assessed before the detailed inspection begins.
Most of the things a tester notices in that opening minute are things a driver can check at home in under 30 minutes, at no cost whatsoever. Arriving prepared means arriving with confidence, and it gives the test the best possible start before any of the more complex systems are examined.
Frequently Asked Questions
What is the first thing an MOT tester checks? The tester begins observing as soon as the vehicle arrives. Number plates, exterior condition, and visible tyre condition are assessed on approach. Once seated, dashboard warning lights are checked immediately after starting the engine.
Can a dirty car fail an MOT? In extreme cases, a tester can decline to carry out an MOT on a vehicle that is excessively dirty, particularly if dirt obscures components that need to be inspected. Keeping the car reasonably clean, especially the number plates and glass, removes this risk entirely.
Do warning lights always fail an MOT? Not all warning lights result in failure, but several do. An illuminated ABS light, airbag warning light, or engine management light at the time of testing is recorded as a major failure. These must be diagnosed and resolved before the test.
Does a blown number plate light fail an MOT? Yes. The bulb that illuminates the rear number plate is part of the lighting check and a failure if not working. It is one of the most commonly overlooked bulbs on any vehicle.
How long does the full MOT take after the initial checks? A full MOT typically takes around 45 to 60 minutes from start to finish. The opening observations and seated checks are completed within the first few minutes, with the ramp inspection, brake test, and emissions check making up the remainder.
Is it worth doing a pre-MOT check at home? Absolutely. Checking lights, number plates, tyre condition, dashboard warning lights, mirrors, and the horn before your test takes less than 30 minutes and can prevent straightforward failures that would otherwise require a retest fee and a return visit.